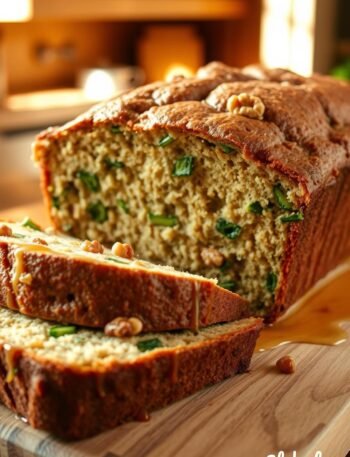
Want to bake bread that’s so soft it melts in your mouth? This almond milk bread recipe uses just 1 cup of warm almond milk. It makes a fluffy, airy loaf perfect for breakfast sandwiches or butter-dripping moments. Say goodbye to store-bought bread and hello to a homemade version even beginners can master.
Switching from dairy milk to almond milk adds a subtle nutty flavor while keeping the bread light. With active dry yeast, flour, and simple pantry staples, you’ll bake a golden loaf that rivals bakery quality. The secret? A double rise process that traps air for maximum fluffiness. Let’s get mixing!
Why Almond Milk Makes Better Bread
Almond milk is more than a milk substitute in bread baking. It’s a game-changer. Find out how it makes your loaf better than regular milk. 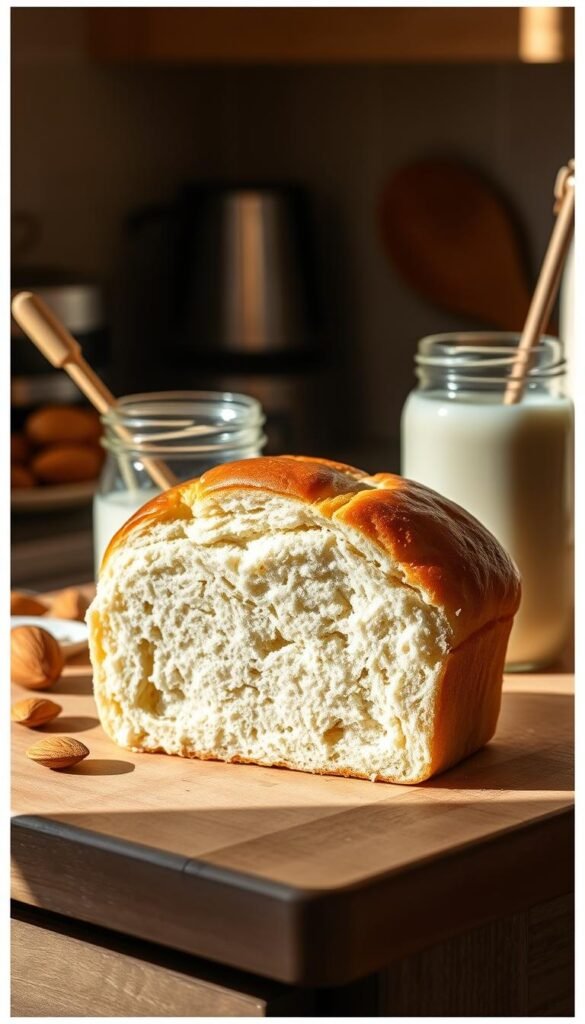
Nutritional Benefits of Almond Milk in Baking
Using almond milk in your almond milk recipe adds nutrition. It brings vitamin E and protein, without dairy’s saturated fat. It’s great for those who can’t have lactose, making soft bread for all.
Each 1 cup (236ml) adds calcium and magnesium. This turns your loaf into a healthier choice.
Flavor Profile Differences
Almond milk adds a soft nutty flavor. It enhances your bread without overpowering it. This makes your loaf perfect with jam or herb butters.
Whether you’re making a sweet cinnamon bread or a savory rosemary loaf, almond milk’s flavor is versatile. It’s ideal for trying different soft bread pairings.
Texture Advantages in Your Loaf
Almond milk’s fats and proteins make the bread tender. Its liquid helps gluten develop, creating a soft bread crumb. This crumb stays moist for days.
Using warm almond milk in the almond milk recipe also helps yeast. It gives your dough the lift for an airy, cloud-like texture.
Essential Ingredients for Your Fluffy Almond Milk Bread
Mastering bread recipes begins with the right ingredients. Let’s look at each part to make sure your loaf turns out perfect every time. Quality ingredients are key—here’s what you’ll need:
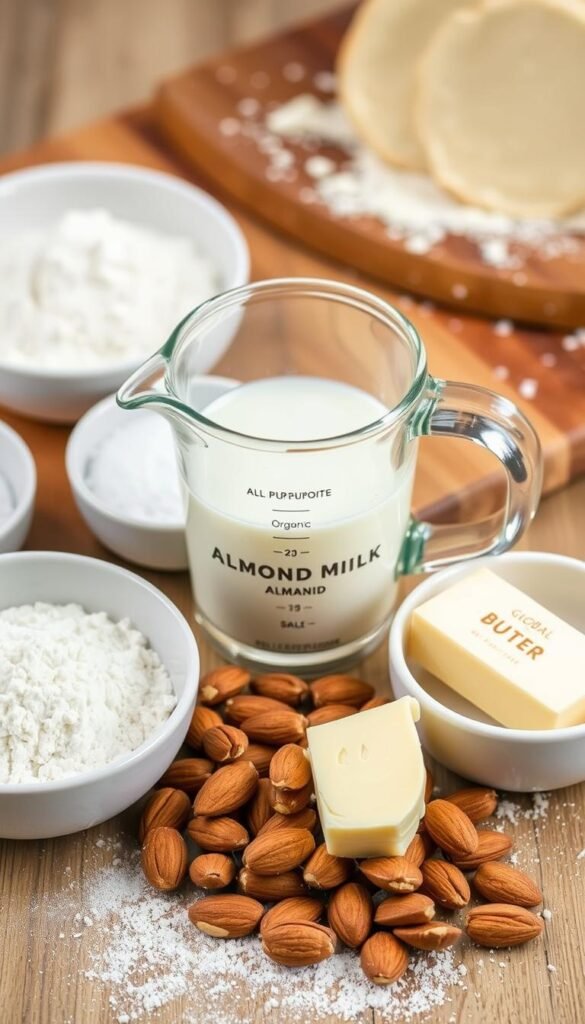
- Warm almond milk (236ml): Use unflavored almond milk heated to 105–115°F to activate yeast without killing it.
- Active dry yeast (2 tsp): This leavening agent creates air pockets for a light texture. Always proof it first in warm water to ensure it’s active.
- All-purpose flour (3 cups/375g): Unbleached flour forms gluten strands that give structure. Measure it by spooning into the cup, not packing.
- Cane sugar (2 tbsp/25g): Feeds yeast and balances sweetness without overpowering almond notes.
- Salt (1 tsp): Enhances flavor and regulates yeast activity for even rising.
- Egg (1 large): Adds richness and moisture, ensuring a tender crumb.
- Olive oil (2 tbsp): Moisturizes dough and prevents dryness.
- Egg wash (1 egg + 1 tbsp almond milk): Brushed on top for a golden crust and shine.
Be careful with substitutions. For ingredients like almond milk, choose unsweetened types to avoid too much sugar. Vegans can use flax eggs (1 tbsp ground flax + 3 tbsp water) instead of eggs. Always check the temperature of your ingredients: cold ingredients slow yeast, and heat above 120°F can kill it. Choose organic or high-quality ingredients for the best taste and texture.
Equipment You’ll Need for Perfect Results
Getting the perfect loaf starts with the right tools. Whether you’re a seasoned baker or new to diy bread making, having the right equipment ensures consistent results. This section breaks down every essential item needed for your almond milk bread project.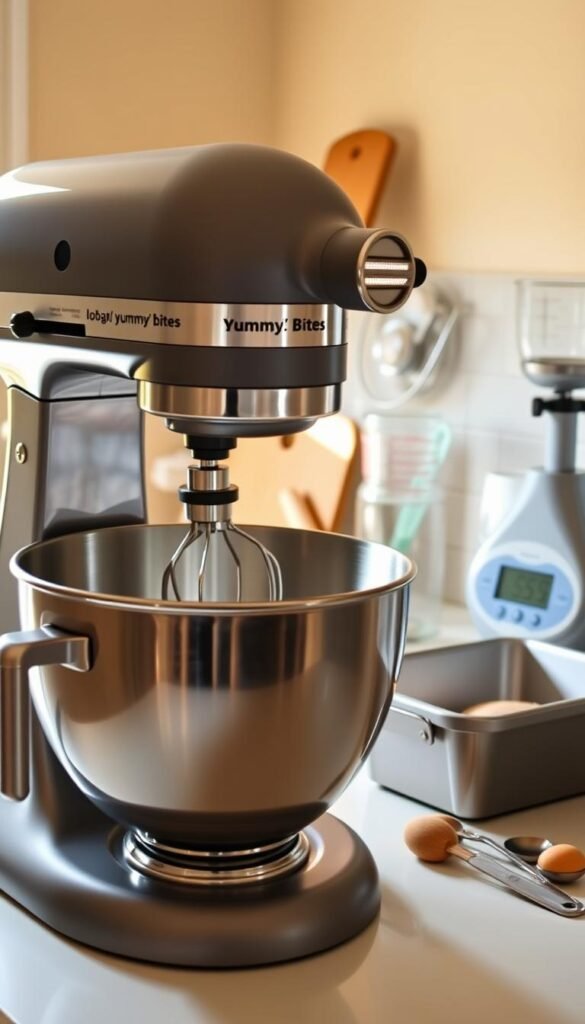
Mixing and Measuring Tools
Accurate measurements are key to baking success. Use standard measuring cups and spoons for dry ingredients. A kitchen scale improves precision—check your recipe’s weight measurements for best results. A large mixing bowl lets dough rise without overcrowding.
Baking Pans and Surfaces
A 9×5-inch loaf pan is essential. Metal pans bake evenly; glass retains heat longer. Line pans with parchment for easy removal. Knead dough on a clean, flat surface like a silicone mat or wooden board to prevent sticking.
Optional but Helpful Gadgets
- Stand mixer with dough hook: Speed up mixing and kneading.
- Kitchen thermometer: Ensure almond milk stays at 105–110°F for yeast activation.
- Dough scraper: Easily handle sticky dough without flour buildup.
- Bread lame: Score dough before baking for professional-looking cuts.
While these tools simplify the process, basic kitchen items work well too. Even without specialty gear, your diy bread will rise beautifully with practice and patience.
Step-by-Step Fluffy Almond Milk Bread Recipe
Learn to make this bread recipe with simple steps for great results. First, get your ingredients and tools ready. Then, follow these easy steps for perfect preparation:

- Activate the Yeast: Warm 1 cup almond milk to 105°F. Mix with 2 tsp yeast in a bowl. Let sit 10 minutes until bubbly. This ensures yeast is active.
- Combine Dry Ingredients: In a large bowl, whisk 3 cups flour, 2 tbsp sugar, 1 tsp salt. Make a well, pour in yeast mixture and 1 egg. Mix until blended.
- Knead for Gluten: Turn dough onto floured surface. Knead 10 minutes using olive oil on hands. Dough should pass the windowpane test—stretchy without tearing.
- First Rise: Place dough in an oiled bowl. Cover with a cloth. Let rise 1 hour in a warm spot. Check by poking—indent stays for proper proofing.
- Shape and Second Rise: Punch dough down, divide into two balls. Roll into loaf shapes, place in greased 9×5 pans. Rise 30 more minutes. Brush with egg wash (1 egg + 1 tbsp almond milk) before baking.
- Bake to Perfection: Preheat oven to 180°C (350°F). Bake loaves 18-20 minutes. Check with a thermometer (190-210°F) or tap bottom for hollow sound. Cool completely on a rack.
Watch dough closely during rising stages. Adjust rising time if your kitchen is cold. Enjoy fresh bread within 2 hours of baking!
Troubleshooting Common Issues
If your almond milk bread isn’t turning out as expected, here’s how to tackle troubleshooting steps. Even experienced bakers face baking issues, but these fixes work every time:
- Dough Won’t Rise? Test yeast in warm water with sugar first. Cold kitchens? Move dough to a warm oven (turned off) with a damp towel over it.
- Bread Too Dense? Over-kneading or under-rising are culprits. Let dough double fully before shaping—check by poking it (it shouldn’t spring back).
- Over-Browned Exterior? Tent the loaf with foil after 10 minutes of baking. Check internal temp at 190°F for doneness—not just time.
- Altitude Adjustments? Reduce rise time by 20% above 3,000 feet. Add 1-2 tbsp flour if dough stays too sticky.
Almond milk’s lower fat content may require ¼ cup less flour than dairy recipes. If unsure, bake a test batch first. Every issue has a fix—keep trying!
Expert Tips for the Fluffiest Texture
Creating the perfect fluffy bread is all about the details. These techniques transform regular dough into a light, airy loaf. Start with the right environment and end with precise timing for the best texture.
The Importance of Temperature Control
Keep the temperature between 75–80°F when activating yeast. Warm your almond milk to 105–115°F before mixing. Too hot, and you’ll kill the yeast; too cold, and it won’t activate.
For rising, choose a draft-free spot. Use a turned-off oven with a bowl of hot water for extra heat. In cold homes, a lamp over the dough bowl provides gentle warmth.
Kneading Methods for Maximum Fluffiness
Lightly oil your hands with olive oil before kneading to avoid sticking. Knead for 10 full minutes until the dough is thin enough to see light through. If it’s too dry, add a bit of almond milk.
Prefer no-knead methods? Try the stretch-and-fold technique every 30 minutes during rising. It gives similar results.
Rising Time Adjustments for Different Climates
- In cold climates: Double the rising time. Use a proof box or microwave with a damp towel and warm water bowl.
- In hot climates: Check the dough every 30 minutes. Move it to a cooler spot if it’s rising too fast.
- Test doneness by gently pressing the dough—it should spring back slightly but leave a small indentation. Aim for doubling in size.
These techniques help your loaf stay light and airy, no matter the climate.
Delicious Variations to Try
Explore new flavors with your almond milk bread. These bread variations and recipes help you make the loaf your own. They’re perfect for any taste or dietary need.
Sweet Additions and Flavor Enhancements
- Add 1–2 tbsp cinnamon, 1 tsp vanilla extract, or citrus zest to dough before kneading.
- Stir in ½ cup chocolate chips or dried fruit during mixing for a decadent touch.
- Top with streusel (mix ¼ cup flour, 2 tbsp sugar, 2 tbsp melted butter) before baking, or drizzle with honey glaze post-bake.
Savory Versions
Cut sugar to 1 tbsp and add:
- Rosemary-garlic: 2 tbsp minced herbs + ½ cup grated Parmesan.
- Cheddar-jalapeño: ½ cup shredded cheese + 2 minced jalapeños.
- Black olive: ½ cup pitted olives mixed into dough.
Dietary Adaptation Options
Customize with these swaps:
- Vegan: Replace egg with ¼ cup ground flaxseed + ¾ cup water. Use maple syrup instead of cane sugar.
- Gluten-free: Use a 1:1 gluten-free flour blend. Add 1 tsp xanthan gum for structure.
- Low-sugar: Reduce sugar to 2 tbsp. Add applesauce for moisture without sweetness.
- Whole grain: Substitute ½ cup all-purpose flour with oat or whole wheat flour.
Adjust baking time by 5–10 minutes if using gluten-free or dense flours. All adaptations maintain the bread’s signature fluffiness!
Serving Suggestions and Pairings
Let your almond milk bread cool for 15–20 minutes before serving. This short rest ensures the soft bread stays delicate and flavorful. It’s perfect for any meal, whether sweet or savory.
- Breakfast Basics: Slice and toast for avocado mash, honey drizzle, or classic peanut butter. Try eggs Benedict on a warm slice for brunch perfection.
- Lunch & Dinner Inspiration: Layer veggie wraps with hummus, or serve as garlic bread alongside tomato soup. Tear into chunks for savory minestrone garnishes.
- Snacks & Sides: Brush with olive oil and herbs for a simple appetizer, or cube for cheese board accompaniments.
Serving soft bread is great with coffee, herbal tea, or white wine. Leftovers? Turn stale slices into French toast or croutons for salads.
For special occasions, arrange soft bread on a platter with artisanal jams, nuts, and cheeses. Its mild almond flavor is perfect for creative pairings. Always slice just before serving to keep it tender.
Storage and Freezing Guidelines
Keeping your almond milk bread fresh is key. Here’s how to maintain its quality:
Keeping Your Bread Fresh
Store cooled bread in an airtight container or bread box at room temperature. Don’t refrigerate it—it dries out. The olive oil in this recipe helps keep it moist for 2-3 days. Slice only what you’ll eat that day for the best taste.
Freezing and Thawing Methods
Freeze half the loaf if you’re baking for two. Follow these steps:
- Let bread cool fully. Slice if desired.
- Wrap tightly in plastic wrap, then seal in a freezer bag or aluminum foil.
- Label with the date—keeps up to 3 months.
Thaw by leaving wrapped bread at room temperature 4-6 hours. For quick use, toast straight from frozen or slice and microwave 15-20 seconds.
Refreshing Day-Old Bread
Revive stale bread with these tricks:
- Moisten slices with a light spray of water, then warm in a 300°F oven 5-7 minutes.
- Turn into croutons: cube, toss with olive oil, bake until crisp.
- Repurpose into bread pudding or breadcrumbs for coatings.
Always store leftovers promptly to protect the delicate almond flavor and airy texture. Proper techniques keep every bite as delicious as the first slice.
Conclusion
Making almond milk bread at home is a fresh twist on tradition. Each slice is soft, with a hint of nuttiness and a lighter feel. This mix of old techniques and almond milk’s special touch makes the bread both cozy and new.
Baking is more than just following a recipe; it’s about trying new things and learning. Even if your first loaf isn’t perfect, the taste and sense of accomplishment are worth it. If you hit a snag, check out the troubleshooting tips. But mostly, trust your gut as you mix, let it rise, and bake.
Begin with the basic recipe and then let your imagination run wild. Try adding your favorite flavors to make it sweet or savory. Share your almond milk bread creations online and feel free to add your own special touches. The art of baking and the science of yeast come together, helping you grow as a baker. Whether you’re new to baking or have been doing it for years, this recipe is a great way to mix simplicity with creativity. Your kitchen and your guests will love it.


